Series: Openalice (3/6)
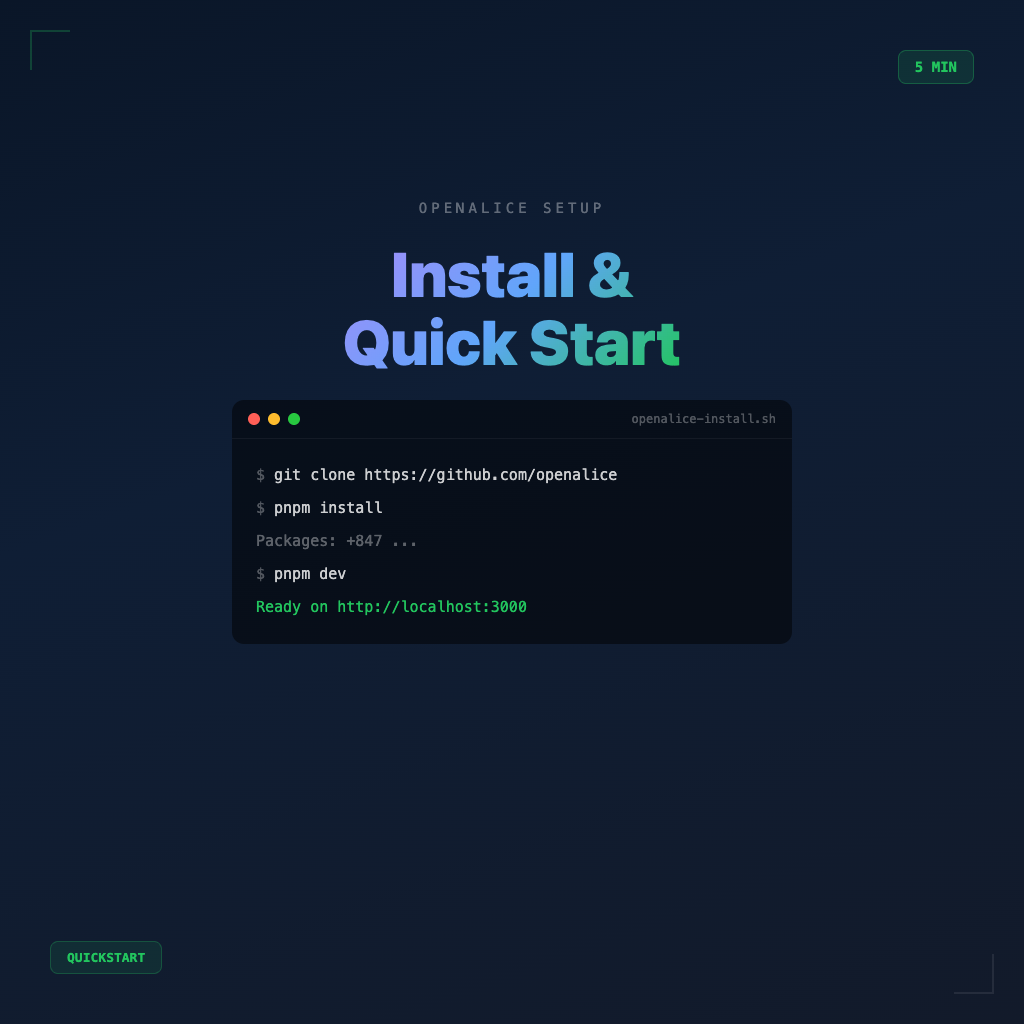
OpenAlice Installation and Quick Start: Get Your AI Trading Agent Running in 5 Minutes
A lot of tools have beautiful installation docs — until you follow them and discover three missing prerequisites, a version mismatch, or a PORT conflict, and you end up searching GitHub issues for a fix.
This guide tries to call out those pitfalls upfront, so you can actually get through OpenAlice's first conversation in five minutes.
Prerequisites
OpenAlice doesn't have many environment requirements, but all three of these need to be right:
| Tool | Version | Notes |
|---|---|---|
| Node.js | 22+ | Lower versions won't work — use nvm to manage |
| pnpm | 10+ | Install via npm install -g pnpm or Corepack |
| Claude Code CLI | Latest | Default AI provider; uses your Pro/Max subscription |
About Claude Code: This is the default AI provider because OpenAlice supports OAuth through Claude Code's Agent SDK — meaning you don't need a separate Anthropic API key; a Claude Pro/Max subscription is enough.
If you want to use your own API key (Vercel AI SDK mode, supporting OpenAI, Google, Anthropic), Claude Code becomes optional.
Version check:
node --version   # Should output v22.x.x or higher
pnpm --version   # Should output 10.x.x or higher
claude --version # Claude Code CLI version
If all three check out, you're good to go.
Installation Steps
Step 1: Clone & Install
git clone https://github.com/TraderAlice/OpenAlice.git
cd OpenAlice
pnpm install && pnpm build
pnpm install pulls all dependencies; pnpm build builds both the backend and UI. The first run may take a bit longer — that's normal.
Step 2: Start Development Mode
pnpm devThis starts the backend (port 3002) and serves the pre-built UI.
Open your browser and go to http://localhost:3002 — you should see OpenAlice's Web UI chat interface.
Step 3: Your First Conversation
Type this directly in the chat box:
What's the current price of AAPL?
The first response may be a bit slow while the connection initializes. If you get back accurate stock price data, congratulations — your OpenAlice is live.
Two Development Modes
OpenAlice provides two commands for different scenarios:
| Command | Port | Use Case |
|---|---|---|
pnpm dev |
3002 | Backend watch mode (tsx), serves pre-built UI |
pnpm dev:ui |
5173 | Frontend Vite dev server with hot reload, proxies API to 3002 |
For general use: pnpm dev is enough.
If you're modifying the UI: Open two terminals — one running pnpm dev, the other running pnpm dev:ui — then access it at http://localhost:5173. UI changes will show up in real time.
Common Installation Issues
Q: pnpm build fails, Node version is fine but still errors?
Check for a pnpm cache issue: pnpm store prune && pnpm install --force.
Q: Server started but conversations get no response?
Verify Claude Code CLI is logged in: claude auth status. If it shows not logged in, run claude auth login and go through the OAuth flow.
Q: Port 3002 is already in use?
Run lsof -i :3002 to find the process using the port, kill it, then run pnpm dev again.
Q: Want to switch to your own OpenAI API key?
OpenAlice supports multiple AI provider profiles that you can switch between in the settings UI. The configuration is in the Web UI's Config page — select Vercel AI SDK and enter your API key.
A Quick Tour of the Web UI
Once it's running, you'll see a few areas:
- Chat Interface — where you talk to Alice; supports sub-channels, so you can open different channels for different markets or tasks
- Portfolio Dashboard — shows your connected UTA account positions, including equity curve visualization
- Config Management — where you configure your AI provider, brokerage accounts, and Guard Pipeline rules
The Portfolio Dashboard may be empty the first time you open it — that's because you haven't connected any brokerage accounts yet. That's fine. Start by getting comfortable with the research and analysis features, then set up real accounts when you're ready.
Suggested First Exercises
Once it's running, try these prompts to get a feel for what OpenAlice can do:
# Price queries
What's the 52-week high and low for TSLA?

# Technical analysis
Show me the RSI and MACD for BTC/USD over the last 30 days

# News search
What are the latest news about Fed interest rate decisions?

# Fundamentals
Give me a summary of NVDA's latest earnings report
You don't need to try all of them — pick one or two markets you care about and run a few queries. The goal is to build a sense of OpenAlice's response speed, the depth of its data, and how well it understands your questions.
Next Configuration Steps
Once it's running, if you want to go deeper, the next steps are typically:
- Set up Guard Pipeline — define the trading boundaries you're willing to let the AI operate within in Config
- Connect brokerage accounts — create a Unified Trading Account and integrate your real accounts
- Set up Heartbeat — get OpenAlice to start proactively monitoring the market conditions you care about
You don't have to do all of this at once. Get the research workflow running smoothly first, then gradually open up execution permissions — that's the more measured approach.
One Line
Installing OpenAlice isn't the hard part — the hard part is knowing how to make it genuinely useful once it's running. Getting the environment up is just the starting point. The real work starts after that.
Back to the Series Overview
This is the second stop in the OpenAlice series, covering installation and environment setup. The next article is Trading-as-Git: Manage Your Trades Like Version-Controlled Code, which walks you through OpenAlice's core trading design philosophy. The full reading map is at OpenAlice Beginner's Course.