Series: Cmux (4/7)
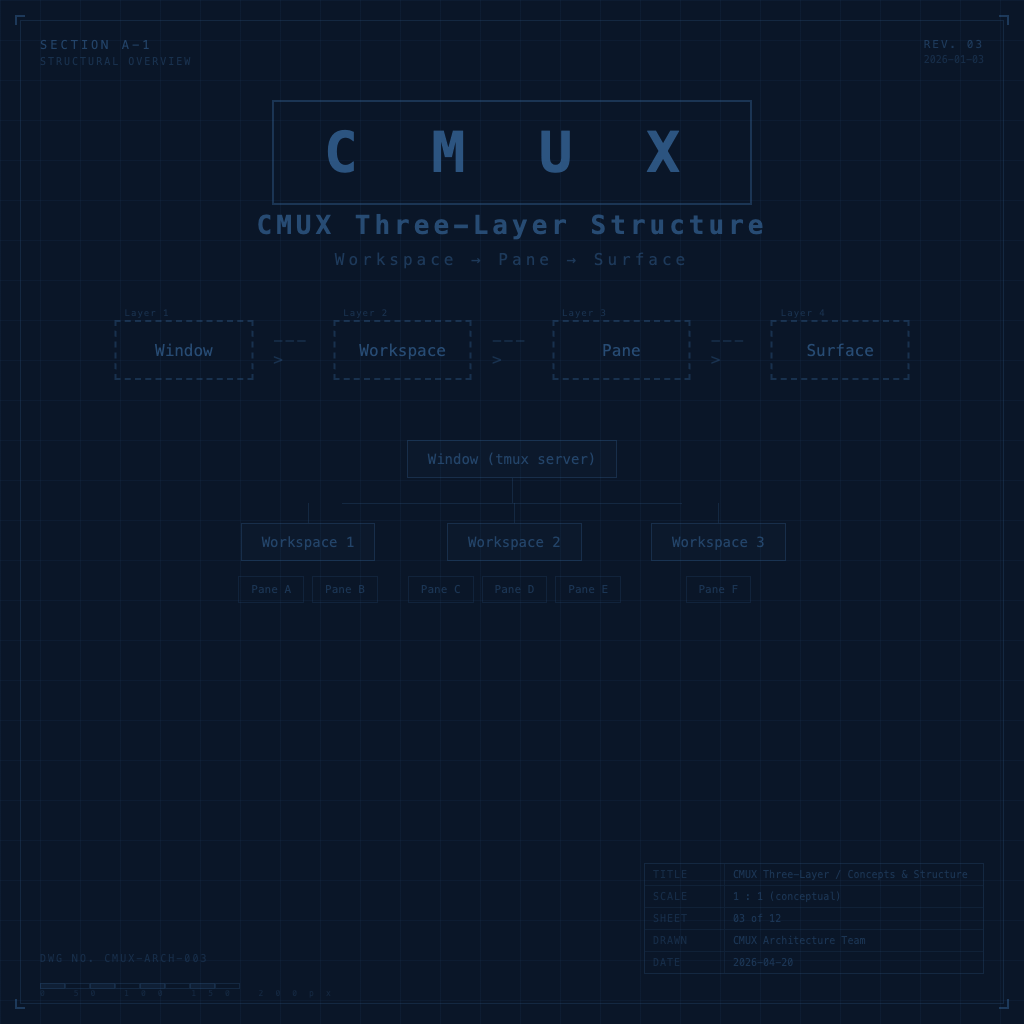
Workspaces, Panes, and Surfaces: CMUX's Three-Layer Structure Explained
Many people install CMUX, open it, think "looks about the same as tmux" — and end up using maybe 30% of its capabilities. The issue is almost always the same: they never internalized the three-layer structure. Once you do, every design decision starts to make sense, and you can actually divide your screen space by task.
The Visual Overview First
Here's what CMUX's interface looks like:
┌──────────────────────────────────────────────────────┐
│ ┌──────────┐ ┌─────────────────────────────────────┐ │
│ │ Sidebar  │ │ Workspace "dev"                     │ │
│ │          │ │                                     │ │
│ │          │ │ ┌───────────────┬─────────────────┐ │ │
│ │ > dev    │ │ │ Pane 1        │ Pane 2          │ │ │
│ │   server │ │ │ [S1] [S2]     │ [S1]            │ │ │
│ │   logs   │ │ │               │                 │ │ │
│ │          │ │ │  Terminal     │  Terminal       │ │ │
│ │          │ │ │               │                 │ │ │
│ └──────────┘ └───────────────┴─────────────────┘ │ │
└──────────────────────────────────────────────────────┘
The sidebar on the left lists three workspaces (dev, server, logs). "dev" is currently selected, showing two side-by-side panes on the right, with Pane 1 containing two surfaces (S1 and S2).
That's the three layers: Workspace → Pane → Surface, plus the Panel at the bottom.
Layer 1: Window
The outermost layer is the macOS window, created with ⌘⇧N. In practice, you rarely need to manage this layer — multiple windows only come into play when you have enough monitor space.
Layer 2: Workspace
Workspaces are the items in the sidebar, created with ⌘N.
This layer is how you organize tasks — one agent, one feature branch, one task gets its own workspace. Each workspace has its own name, can be color-coded, and exposes an environment variable CMUX_WORKSPACE_ID so your scripts know which workspace they're running in.
Real usage examples:
feature-auth: Auth feature development, the agent runs heretest-runner: A workspace dedicated to running testslogs: Log monitoring, leave it running
All three are completely independent — you can scan their status in the sidebar at a glance.
Layer 3: Pane
Inside a workspace, you can split horizontally or vertically into multiple panes, using ⌘D (horizontal) or ⌘⇧D (vertical).
Panes are your screen space allocation unit, letting you see multiple outputs simultaneously within the same task. For example: the agent output on the left, a browser preview on the right — they're still part of the same "task," you just need to see both at once.
Layer 4: Surface
Each pane can contain multiple Surfaces — similar to browser tabs, created with ⌘T. Each Surface has its own identifier (CMUX_SURFACE_ID), which is used when automating with the socket API.
Panel
The bottom layer. Each Surface runs one Panel, which can be either a terminal or a browser. Yes — you can open a browser directly in a pane, without switching to Chrome and back.
Layer Summary
| Layer | Description | Create | Identifier |
|---|---|---|---|
| Window | macOS window | ⌘⇧N |
— |
| Workspace | Sidebar item | ⌘N |
CMUX_WORKSPACE_ID |
| Pane | Split region | ⌘D / ⌘⇧D |
Pane ID (socket API) |
| Surface | Tab within a pane | ⌘T |
CMUX_SURFACE_ID |
| Panel | Terminal or browser | automatic | Panel ID (internal) |
How to Use This Structure to Manage Multiple Agents
A common configuration:
Workspace = Agent (or task)
One workspace per agent, named after what it's doing — claude-feature, claude-test, monitoring.
Pane = Different viewing angles within the same task
Inside a feature workspace, the agent output is on the left, browser preview on the right — they both belong to this task, you just need to see them simultaneously.
Surface = Reserve space
Keep a spare shell Surface in a pane so you can jump over and run something manually at any time, without interfering with the main agent's output.
With this layout, your screen stays organized — every pane has its role, and you always know where to look.
Three-layer structure covered. Next article: tuning the configuration — fonts, colors, scrollback, and other details that make CMUX feel right to use: Complete CMUX Configuration Guide.