系列文章: Opendesign (6/11)
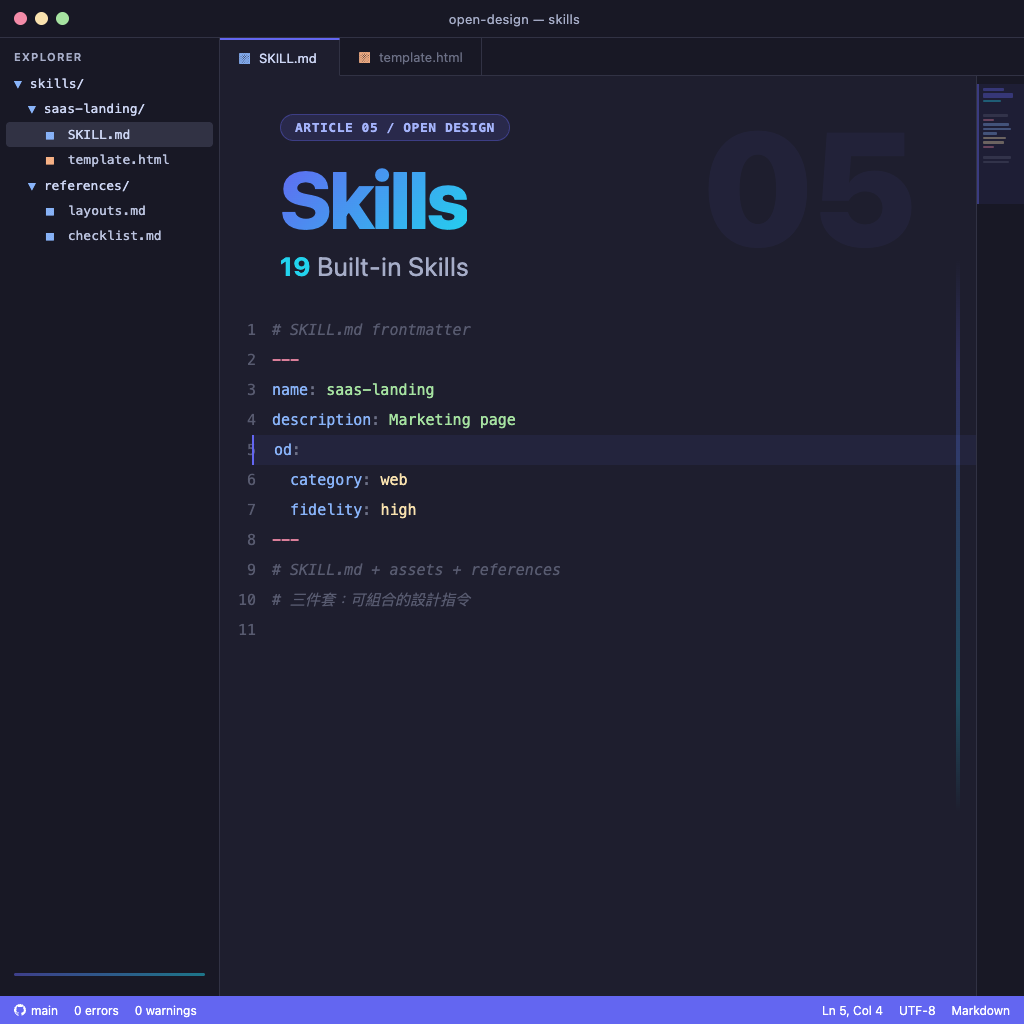
Open Design Skills 完全指南:19 個內建 skill 與如何加自己的
上一篇講完 agent 偵測,這篇進一步拆解:你選了 skill、按下送出之後,agent 到底讀到了什麼?答案藏在 skills/ 目錄裡每個資料夾的三個檔案。看完這篇你不只會用內建的 19 個 skill,還能寫自己的。
Skill 是什麼?三個檔案就對了
每個 skill 就是一個目錄,最小的長相是這樣:
skills/saas-landing/
├── SKILL.md             ← frontmatter + 指令說明
├── assets/template.html ← seed 模板
└── references/
    ├── layouts.md       ← 排版規格
    └── checklist.md     ← P0/P1/P2 閘門
三個檔案的角色:
- SKILL.md — agent 讀進去當主指令,包含 frontmatter 和 prose
- assets/ — agent pre-flight 階段會被指示去
Read的檔案,最常見的是template.html - references/ — 詳細規格,agent 在實作中會
Read進來查
協議完全沿用 Claude Code 的 SKILL.md 規範,跨工具相容。
SKILL.md 的 od: 擴充 frontmatter
Open Design 在標準 frontmatter 之上加了一段 od: 欄位,這幾個欄位告訴 daemon 這個 skill 的元資料:
---
name: saas-landing
description: Marketing page with hero / features / pricing / CTA
od:
  mode: prototype          # prototype | deck | template | design-system
  platform: desktop        # desktop | mobile
  scenario: marketing      # 用來分類
  preview: example.html    # 在 picker 顯示的預覽
  design_system: default   # 推薦的 design system(可被覆蓋)
---
各欄位用途:
| 欄位 | 意義 |
|---|---|
mode |
決定 render 樣式:prototype 出單頁 HTML、deck 出多頁、template 出文件 |
platform |
desktop 用 browser 視窗、mobile 套用 iPhone / Pixel frame |
scenario |
分類,picker 用來分組 |
preview |
repo 裡的範例檔案,picker 顯示縮圖 |
design_system |
預設搭配的 design system,使用者選別套會覆蓋 |
加新 skill 時這段不能少——daemon 拿不到 od: 區塊就不會收進 picker。
19 個內建 skill 在做什麼
按用途分三組看:
設計表面(Design surfaces)
這組是「會出現在使用者前面的畫面」:
| Skill | 平台 | 產出 |
|---|---|---|
web-prototype |
desktop | 單頁 HTML(landing、marketing) |
saas-landing |
desktop | 完整行銷頁(hero / features / pricing / CTA) |
dashboard |
desktop | 後台 / 數據(sidebar + dense layout) |
pricing-page |
desktop | 獨立定價頁 + 比較表 |
docs-page |
desktop | 三欄文件版型 |
blog-post |
desktop | 編輯體長文 |
mobile-app |
mobile | iPhone 15 Pro / Pixel 框內 app 畫面 |
simple-deck |
desktop | 簡約水平滑動簡報 |
guizang-ppt |
desktop | 雜誌風 web PPT,預設 deck mode |
guizang-ppt 是直接 vendored 進來的——op7418/guizang-ppt-skill 整包搬過來、原 LICENSE 保留、attribution 保留。這也是「Skills 是檔案不是 plugin」這個設計的好處:直接 drop in。
文件 / 工作產出(Document surfaces)
這組是「設計品但不是 UI」:
| Skill | 產出 |
|---|---|
pm-spec |
PM 規格文件,附目錄與決策日誌 |
weekly-update |
團隊週報(progress / blockers / next) |
meeting-notes |
會議決議記錄 |
eng-runbook |
Incident runbook |
finance-report |
Exec 財務摘要 |
hr-onboarding |
新人 onboarding 計畫 |
invoice |
單頁發票 |
kanban-board |
看板 snapshot |
team-okrs |
OKR 計分表 |
行政文件變設計品——這是 Open Design 比 Notion 模板強的地方:每份都跑一輪 5 維自評,輸出長得像有設計師潤過。
Showcase 範例
dating-web、digital-eguide、email-marketing、gamified-app、mobile-onboarding、motion-frames、social-carousel、sprite-animation——這些是視覺辨識度最高的 skill,每個 repo 裡有真的 example.html 可以直接打開看。建議第一次裝完,先把這幾個的範例打開瀏覽一輪,會對「這工具能做到什麼程度」有概念。
Pre-flight:agent 真的會讀那些檔案
Skill 不是「丟個 prompt 進 agent」就結束。Open Design 的 prompt stack 有一段叫 pre-flight directive,內容大致是:
Before you write a single artifact:
1. Read skills/<active>/assets/template.html
2. Read skills/<active>/references/*.md
3. Read design-systems/<active>/DESIGN.md
4. Pass the P0 checklist
Only then emit <artifact>.
這段被注入到 agent 的對話脈絡裡——CLI 拿到的不是空白起點,而是「先去讀這幾個檔案再動手」。daemon 把 cwd 設成 .od/projects/<id>/、symlink 或拷一份 skill 進去,agent 用真的 Read 工具讀檔,沒有 hallucinate 空間。
P0 / P1 / P2 是什麼?
每個 skill 的 references/checklist.md 會列三檔閘門:
- P0 — 硬閘門,沒過不准 emit。例如:「色票必須來自 active DESIGN.md,不准自己編 hex」「不准用 Inter 當顯示字體」
- P1 — 應該過,沒過要記錄為已知問題
- P2 — 加分項
這套 checklist 文化從 op7418/guizang-ppt-skill 借過來,現在每個 skill 都有。Agent 在送 artifact 之前會跑一輪 5 維自評(反 AI-slop 那篇 會詳述),其中一個維度就是 P0 是否全過。
加自己的 skill 五分鐘搞定
實際步驟:
cd skills
cp -r web-prototype my-newsletter
cd my-newsletter
# 改 SKILL.md 的 name / description / od.scenario
# 改 assets/template.html 成你想要的種子模板
# 改 references/checklist.md 寫你自己的 P0
pnpm tools-dev stop && pnpm tools-dev run webpicker 重新整理,你的 skill 就在裡面。沒有審核、沒有 publish、沒有版本管理——就是檔案。
下一站:跟 skill 配對的另一半
Skill 決定「畫面長什麼樣」,但「用什麼顏色、什麼字型、間距怎麼配」歸 design system 管。
下一篇講 71 套內建 design system:DESIGN.md 的 9 段式 schema、怎麼切換、怎麼改一份你公司專用的。Skill 跟 Design System 兩邊一起搞懂,你才算真的會用 Open Design。