Series: Deeptutor (3/7)
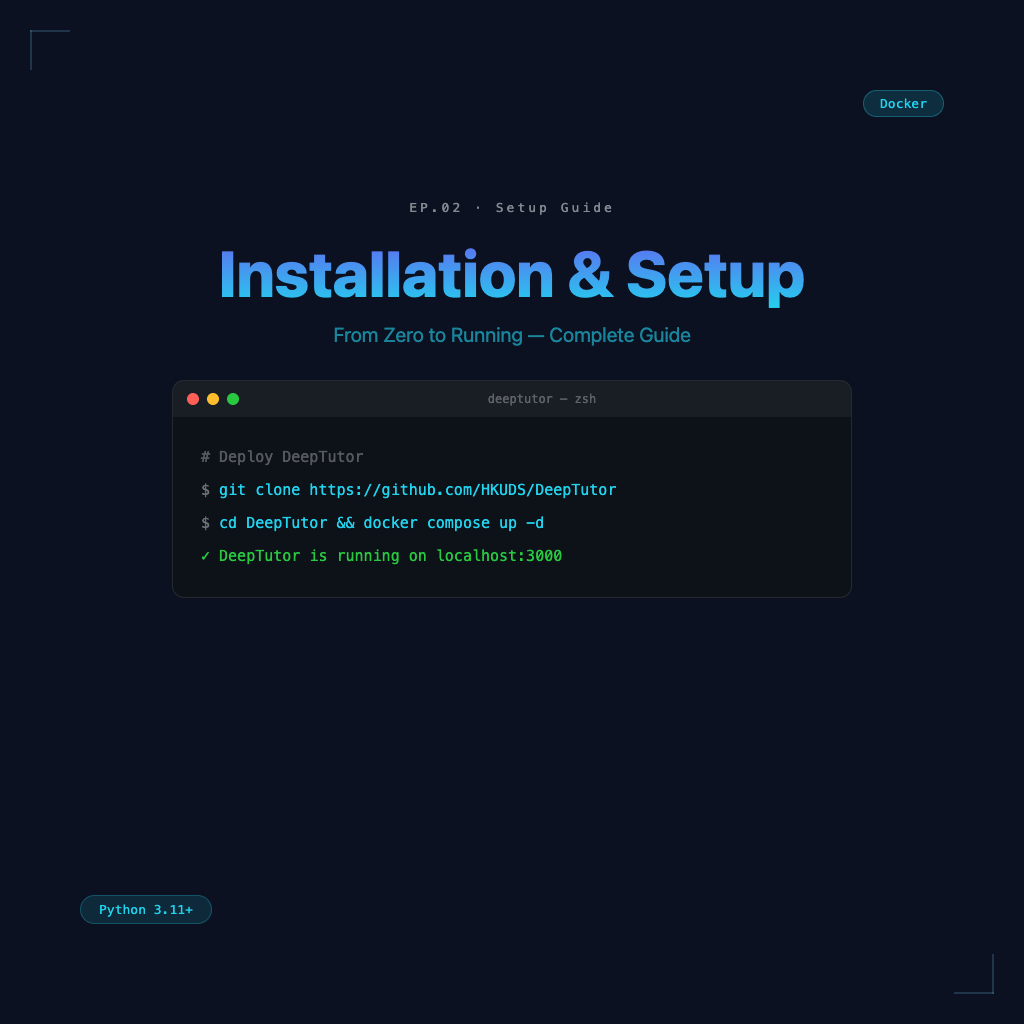
DeepTutor Installation and Setup: A Complete Guide from Zero to Running
Installation is the only part of the DeepTutor experience with a higher technical bar—once you're past it, everything else is just learning.
This article has one goal: get DeepTutor running before you finish reading. Whether this is your first time self-hosting a service or you've set up dozens of things, find the section that matches your situation and follow the steps.
System Requirements
Before starting, confirm your machine meets these minimum requirements:
| Item | Minimum | Recommended |
|---|---|---|
| Operating System | Windows 10 / macOS 12 / Ubuntu 20.04 | macOS or Linux |
| RAM | 8GB | 16GB or more |
| Storage | 10GB available | 20GB or more |
| Docker (Method 1) | Docker Desktop 24+ | Latest version |
| Python (Method 2) | Python 3.10+ | Python 3.11 |
| Node.js (Method 2) | Node.js 18+ | Node.js 20 |
You'll also need an API key for an LLM backend (OpenAI, Anthropic, etc.), or a local Ollama environment.
Method 1: Docker (Recommended for Beginners)
Docker is the fastest approach—a few commands, no manual dependency management.
Step 1: Clone the repository
git clone https://github.com/HKUDS/DeepTutor.git
cd DeepTutor
Step 2: Copy the environment variable template
cp .env.example .envStep 3: Configure the LLM backend
Open .env in a text editor and find these fields:
# Choose your LLM provider (openai / anthropic / ollama)
LLM_PROVIDER=openai

# Enter the corresponding API key
OPENAI_API_KEY=sk-your-api-key-here

# Select the model
LLM_MODEL=gpt-4o
If you use Anthropic:
LLM_PROVIDER=anthropic
ANTHROPIC_API_KEY=sk-ant-your-key
LLM_MODEL=claude-3-5-sonnet-20241022
If you want to use local Ollama (no API key required):
LLM_PROVIDER=ollama
OLLAMA_BASE_URL=http://localhost:11434
LLM_MODEL=llama3.2
Step 4: Start the services
docker compose up -dThe first launch will download Docker images—expect 3–10 minutes depending on your connection speed. Once complete, open your browser and navigate to:
http://localhost:3000
If you see the DeepTutor welcome screen, you're done.
Method 2: Native Installation (For Developers)
Prefer running source code directly without Docker? Here's how.
Step 1: Clone and enter the directory
git clone https://github.com/HKUDS/DeepTutor.git
cd DeepTutor
Step 2: Install backend dependencies
# Create virtual environment
python -m venv venv
source venv/bin/activate  # Windows: venv\Scripts\activate

# Install Python packages
pip install -r requirements.txt
Step 3: Install frontend dependencies
cd frontend
npm install
cd ..
Step 4: Configure environment variables
cp .env.example .env
# Edit .env and fill in your LLM settings as above
Step 5: Start backend and frontend
Open two terminals and run:
# Terminal 1: Backend
python main.py

# Terminal 2: Frontend
cd frontend && npm run dev
The frontend runs at http://localhost:3000 by default; the backend API is at http://localhost:8000.
Initial Setup: First Time in the Interface
Once installed, there are a few things worth configuring before you start learning.
1. Build your learning profile
On first login, DeepTutor will walk you through your basic learning preferences:
- Learning goals: What do you want to learn? (e.g., "Master Python data analysis," "Reach IELTS 7.0")
- Current level: Self-assess as beginner / intermediate / advanced
- Learning style preference: Direct explanation vs. guided questioning (Socratic)
This information is stored in DeepTutor's persistent memory and influences the tone of all future interactions. The more detail you provide, the less recalibration you'll need later.
2. Choose your LLM model
You can adjust the model in the settings interface. Recommendations:
- Daily chat and quizzes:
gpt-4o-miniorclaude-3-5-haiku(fast, cost-effective) - Deep Solve and Deep Research:
gpt-4oorclaude-3-5-sonnet(higher accuracy) - Privacy-first:
llama3.2(fully local, but lower performance)
3. Create your first Knowledge Base (optional)
If you have learning materials on hand, you can set up a knowledge base at this stage. Upload PDFs or Markdown files—DeepTutor will build semantic indexes in the background, typically completing within a few minutes.
Detailed Knowledge Base usage is covered in Article 5 of this series.
Troubleshooting Common Issues
Q: Docker started but localhost:3000 won't open
Check whether the containers are running:
docker compose psIf backend or frontend status isn't Up, check the logs:
docker compose logs backend
docker compose logs frontend
The most common cause is an incorrect or empty API key in .env.
Q: Uploaded a PDF but nothing happens
Knowledge base indexing is asynchronous—large files may take a few minutes. If it's still not complete after ten minutes, trigger re-indexing from the settings page.
Q: Using Ollama but conversation is very slow
Confirm Ollama is running on the correct port and that OLLAMA_BASE_URL is set correctly. On macOS with Apple Silicon, ensure Ollama is using Metal acceleration.
Q: Permission errors with Docker on Windows
Make sure Docker Desktop has WSL 2 backend enabled, and that your working directory is under C:\Users\ rather than another drive.
Updating DeepTutor
DeepTutor is actively developed—regular updates are recommended:
# Docker method
git pull
docker compose pull
docker compose up -d

# Native installation method
git pull
pip install -r requirements.txt  # Only needed when new dependencies are added
What's Next
Your environment is running. The next step is getting familiar with the five learning modes—Chat, Deep Solve, Quiz, Research, and Math Animator—each designed for different situations and strategies.
Further reading: DeepTutor's Five Modes Explained: Chat, Deep Solve, Quiz, Research, Math Animator