系列文章: Cmux (7/7)
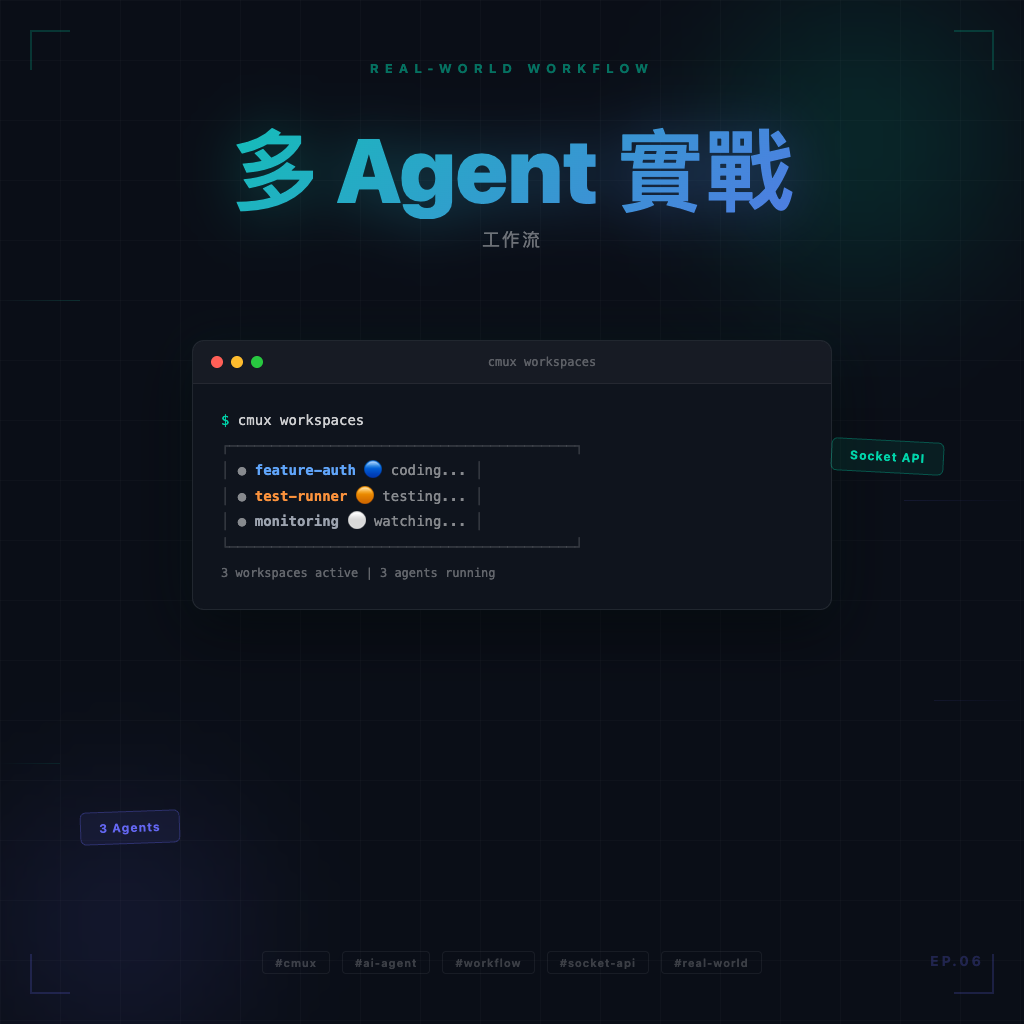
多 Agent 實戰工作流:CMUX 在真實開發的使用套路
前面五篇把 CMUX 的每一個功能塊都拆開說了。現在把它們接起來——一個真實開發場景,你同時跑三個 AI Agent,需要各自的空間、能收到完成通知,偶爾還要用腳本控制終端機行為。
場景:三個代理同時跑
假設你今天有三件事要做:
- 一個代理在幫你實作新功能(Claude Code / Cursor)
- 一個在跑 CI 風格的測試迴圈
- 一個在監控 log,確保沒有異常噴出來
這三件事互不相干,但都要跑,而且你希望能一眼看到所有狀態。
工作區設計
按照「工作區 = 任務」的原則,建三個工作區:
| 工作區名稱 | 顏色 | 內容 |
|---|---|---|
feature-auth |
藍色 | 代理輸出 + 備用 shell |
test-runner |
橙色 | 測試指令輸出 |
monitoring |
灰色 | tail -f log 監控 |
三個工作區各自獨立,側邊欄一眼掃完狀態。
cmux.json 設計
把這三個工作區全部寫成自訂指令,早上開工一個一個觸發,三個環境全部起來:
{
  "commands": [
    {
      "name": "Feature Dev",
      "description": "Auth 功能開發工作區",
      "keywords": ["feature", "auth", "dev"],
      "restart": "confirm",
      "workspace": {
        "name": "feature-auth",
        "color": "#3b82f6",
        "cwd": "./",
        "layout": {
          "direction": "horizontal",
          "split": 0.65,
          "children": [
            {
              "pane": {
                "surfaces": [
                  {
                    "type": "terminal",
                    "name": "Agent",
                    "focus": true
                  }
                ]
              }
            },
            {
              "pane": {
                "surfaces": [
                  {
                    "type": "terminal",
                    "name": "Shell"
                  }
                ]
              }
            }
          ]
        }
      }
    },
    {
      "name": "Test Runner",
      "description": "持續跑測試",
      "keywords": ["test", "runner", "ci"],
      "restart": "ignore",
      "workspace": {
        "name": "test-runner",
        "color": "#f97316",
        "cwd": "./",
        "layout": {
          "direction": "horizontal",
          "split": 1,
          "children": [
            {
              "pane": {
                "surfaces": [
                  {
                    "type": "terminal",
                    "name": "Tests",
                    "command": "npm run test:watch",
                    "focus": true
                  }
                ]
              }
            }
          ]
        }
      }
    },
    {
      "name": "Monitoring",
      "description": "Log 監控",
      "keywords": ["log", "monitor", "tail"],
      "restart": "ignore",
      "workspace": {
        "name": "monitoring",
        "color": "#6b7280",
        "cwd": "./",
        "layout": {
          "direction": "horizontal",
          "split": 0.5,
          "children": [
            {
              "pane": {
                "surfaces": [
                  {
                    "type": "terminal",
                    "name": "App Log",
                    "command": "tail -f logs/app.log",
                    "focus": true
                  }
                ]
              }
            },
            {
              "pane": {
                "surfaces": [
                  {
                    "type": "terminal",
                    "name": "Error Log",
                    "command": "tail -f logs/error.log"
                  }
                ]
              }
            }
          ]
        }
      }
    }
  ]
}
用 CLI 發送通知
代理跑完一個大任務,你希望收到通知而不是一直盯著輸出。在你的腳本或代理配置裡加上:
# 任務完成時通知
cmux notify --title "Feature Build Done" --body "auth 功能 build 完成,可以開始 review"

# 測試失敗時警告
cmux notify --title "Test Failed" --body "有 3 個測試掛掉,請查看 test-runner 工作區"
如果你在 CMUX 外部呼叫這個指令(比如 CI 腳本),記得先建好 /usr/local/bin/cmux 符號連結(參考安裝那篇)。
socket API 自動化:進階用法
socket API 讓你可以用程式控制 CMUX。使用前,確認「自動化模式」設定:
設定 > 自動化模式 > 僅限 cmux 程序(個人開發機建議這個)
查詢所有工作區:
cmux list-workspaces這個指令回傳的資訊可以接進腳本,做到「確認特定工作區是否存在、不存在就自動建立」的邏輯。
工作節奏建議
早上開工:觸發三個自訂指令,三個工作區全部起來,不用手動配置任何東西。
工作中:代理在跑的時候,你不用一直看它——等通知。通知來了再切過去看結果。
切換情境:側邊欄三個工作區,點一下就切換,不用 ⌘Tab 亂找視窗。
收工前:用 cmux list-workspaces 確認所有工作區狀態,確保沒有代理在跑到一半。
共用機器的注意事項
如果你的開發機是共用的(團隊 server、CI runner),自動化模式建議設「關閉」或「僅限 cmux 程序」,不要開 allowAll——後者讓任何本機程序都能連到你的 CMUX socket,在共用環境裡是個風險。
到這裡,CMUX 的完整工作流就串起來了。從安裝、結構、設定到自訂指令,再到多 Agent 實戰——一套可重複的套路,不管跑幾個代理都不亂。
想回頭看某個主題?從**系列首頁**找對的那篇跳進去。